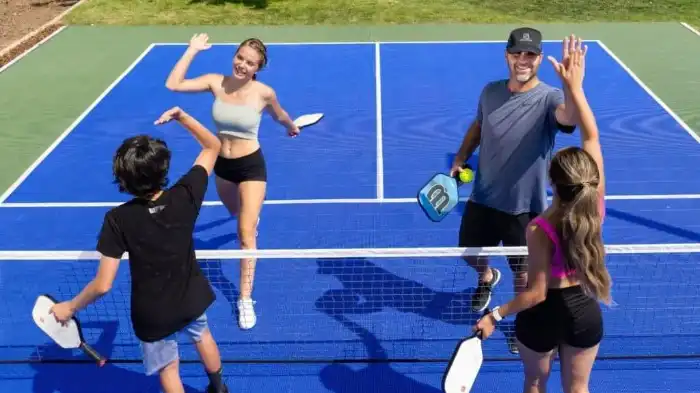
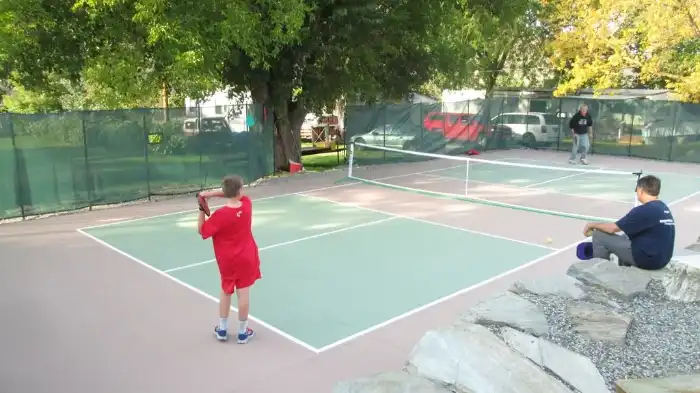
Are you a pickleball enthusiast who wishes to have a pickleball court in the comfort of your own backyard? Building your own backyard pickleball court may seem like a daunting task, but with proper planning and execution, it is completely achievable. In this step-by-step guide, we will walk you through the process of building your own backyard pickleball court, ensuring that you have all the information you need to make your dream a reality.
Steps for Building Your Own Backyard Pickleball Court
Step 1: Determine Available Space
The first step for building a backyard pickleball court is to assess the available space. A standard pickleball court size is 20 feet wide and 44 feet long. Ensure that the area you select for your backyard pickleball court meets these dimensions. Selecting a flat and smooth surface is essential. Ensure that there are no obstacles like trees or big rocks in the way.
Step 2: Clear the Area
Once you have identified the space, clear the area of any debris, rocks, or grass using a shovel or a rake. It is essential to have a clean and level playing area. Take the time to remove any rocks or roots that may hinder the smoothness of the playing surface.
Step 3: Mark the Court Boundaries
In this step, you have to mark the boundaries of the pickleball court. Measure and mark the corners of the court using stakes and twine. Ensure that the lines are straight and consistent with the dimensions of a standard pickleball court. You can also use chalk to create temporary lines to ensure accuracy before proceeding to the next steps.
Step 4: Excavate the Area
Excavate the area within the boundaries to a depth of approximately 4-6 inches. This will allow for proper drainage and ensure a stable court. Use a shovel or a small excavator for this task. Take care to maintain the leveling and evenness of the surface throughout the excavation process.
Step 5: Install the Base Material
Next, you will need to install the base material for your backyard pickleball court. A commonly used base material is crushed stone or gravel. Spread and compact the base material evenly within the excavated area. Ensure that the depth is around 2-3 inches and use a plate compactor to achieve a solid and stable surface.
Step 6: Lay the Surface Material
Once the base is in place, it is time to lay the surface material. A popular choice for pickleball courts is an acrylic paint coating. It provides a smooth and durable playing surface. Apply the acrylic paint coating evenly across the court using a paint roller or sprayer. Allow the surface to dry completely as instructed by the manufacturer before proceeding further.
Step 7: Mark the Court Lines
After the surface material has dried, it is time to mark the court lines. Using measuring tape and paint, mark the boundaries, centerline, and non-volley zones. Ensure that the lines are straight, clear, and visible. It is best to use contrasting colors to make them easily distinguishable during gameplay.

Step 8: Install the Net System
The final step for building a backyard pickleball court is to install the net system. A standard pickleball net is 36 inches high at the ends and 34 inches high at the center. Secure the net to the posts or poles provided in the net system and ensure that it is properly tensioned. Adjust the height accordingly.
Frequently Asked Questions
The ideal size for a pickleball court is 20 feet wide by 44 feet long. However, if space is limited, you can build a smaller court with a width of 10 feet and a length of 20 feet.
Crushed stone or gravel makes an excellent base material. Ensure an even spread and compact it properly to create a stable and well-draining surface for your backyard pickleball court.
Regular maintenance ensures the longevity of your backyard pickleball court. Keeping it clean and in good condition guarantees countless hours of fun with family and friends.
Safety is paramount in backyard pickleball court construction. Clear the area of debris, rocks, or potential tripping hazards during excavation. Ensure proper leveling, and maintain regular inspections to address any safety concerns promptly. Additionally, secure the net system correctly to prevent accidents during gameplay.
While professional help is an option, many homeowners successfully build their backyard pickleball courts using detailed guides. With careful planning and following step-by-step instructions, DIY installation is achievable. Enlist help from friends or family if needed, making it a rewarding and cost-effective project.
Conclusion
Building your own backyard pickleball court may require some time and effort, but the end result is worth it. By following this step-by-step guide, you can create a professional-looking pickleball court right in your own backyard. Remember to regularly maintain and clean your court to ensure its longevity. With your new court, you can enjoy countless hours of pickleball fun with family and friends!